一、安装nginx
[root@server10 ~]# dnf -y install nginx 安装nginx二、备份nginx的配置文件
[root@server10 ~]# cp /etc/nginx/nginx.conf /etc/nginx/nginx.conf.bak 备份nginx的配置文件三、启动nginx并设置nginx开机启动
[root@server10 ~]# systemctl enable --now nginx					启动nginx并设置nginx开机启动
Created symlink /etc/systemd/system/multi-user.target.wants/nginx.service → /usr/lib/systemd/system/nginx.service.
四、启动防火墙
[root@server10 ~]# systemctl enable --now firewalld				启动防火墙
Created symlink /etc/systemd/system/dbus-org.fedoraproject.FirewallD1.service → /usr/lib/systemd/system/firewalld.service.
Created symlink /etc/systemd/system/multi-user.target.wants/firewalld.service → /usr/lib/systemd/system/firewalld.service.
五、在防火墙里添加服务
[root@server10 ~]# firewall-cmd --add-service=http				在防火墙里添加http(超文本链接协议)服务
success
[root@server10 ~]# firewall-cmd --add-service=https             在防火墙里添加https服务(加密安全的超文本链接协议)
success
[root@server10 ~]# firewall-cmd --runtime-to-permanent			在防火墙里永久添加运行时
六、安装ssl(安全套阶层协议)
[root@server10 ~]# dnf -y install openssl-devel 安装ssl(安全套阶层协议)七、创建私有目录添加权限
[root@server10 ~]# mkdir /etc/ssl/private						创建私有目录
[root@server10 ~]# chmod 700 /etc/ssl/private/					将私有目录添加700权限
[root@server10 ~]# openssl req -x509 -nodes -days 365 -newkey rsa:2048 -keyout /etc/ssl/private/nginx-selfsigned.key -out /etc/ssl/certs/nginx-selfsigned.crt
用openssl生成私有密钥和证书,

-----
Country Name (2 letter code) [XX]:CN
State or Province Name (full name) []:BJ
Locality Name (eg, city) [Default City]:BJ
Organization Name (eg, company) [Default Company Ltd]:www.itcloud.net	公司名称:www.itcloud.net
Organizational Unit Name (eg, section) []:IT					部门:IT
Common Name (eg, your name or your server's hostname) []:lee    名字
Email Address []:2823629811@qq.com								邮箱
八、生成密钥交换文件
[root@server10 ~]# openssl dhparam -out /etc/ssl/certs/dhparam.pem 2048 生成密钥交换文件九、创建ssl的虚拟主机的配置文件
[root@server10 ~]# vim /etc/nginx/conf.d/ssl.conf				创建ssl的虚拟主机的配置文件
server {														定义服务器
     listen 443 http2 ssl;										监听ipv4网站https的443端口
     listen [::]:443 http2 ssl;									监听ipv6网站https的443端口
     server_name 192.168.7.10;									服务器的名称可以写域名或IP
     ssl_certificate /etc/ssl/certs/nginx-selfsigned.crt;		指定证书文件的位置
     ssl_certificate_key /etc/ssl/private/nginx-selfsigned.key;	指定密钥文件的位置
     ssl_dhparam /etc/ssl/certs/dhparam.pem;					指定密钥交换文件的位置

     root /usr/share/nginx/html;								指定网站的具体位置
     location / {
     }

     error_page 404 /404.html;									定义错误页面404的位置(404表示:服务器找不到请求的网页)
     location = /404.html {
     }

     error_page 500 502 503 504 /50x.html;						定义	500 502 503 504 /50x.html(50X))错误文件的位置
     location = /50x.html {
     }
}
十、创建ssl重定向文件
[root@server10 ~]# vim /etc/nginx/default.d/ssl-redirect.conf		创建ssl重定向文件
return 301 https://$host$request_uri/;								网站由http重定向到https
301 表示请求的页面永久移动到新位置
十一、检查nginx配置文件的语法及重启nginx
[root@server10 ~]# nginx -t 检查nginx配置文件的语法
nginx: the configuration file /etc/nginx/nginx.conf syntax is ok
nginx: configuration file /etc/nginx/nginx.conf test is successful
[root@server10 ~]#
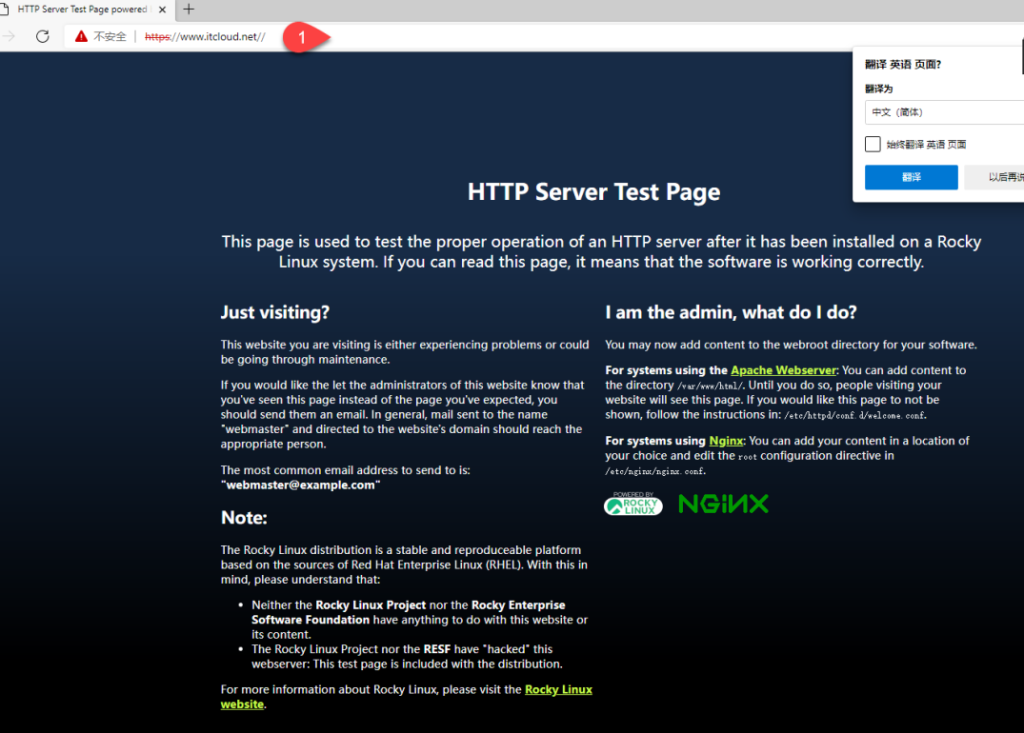
[root@server10 ~]# systemctl restart nginx 重启nginx十二、win11上测试http服务器测试页面