一、实验环境:
部署在虚拟机或物理服务器上,不能部署在docker上,所有要还原至新系统,注意不是K8s新系统;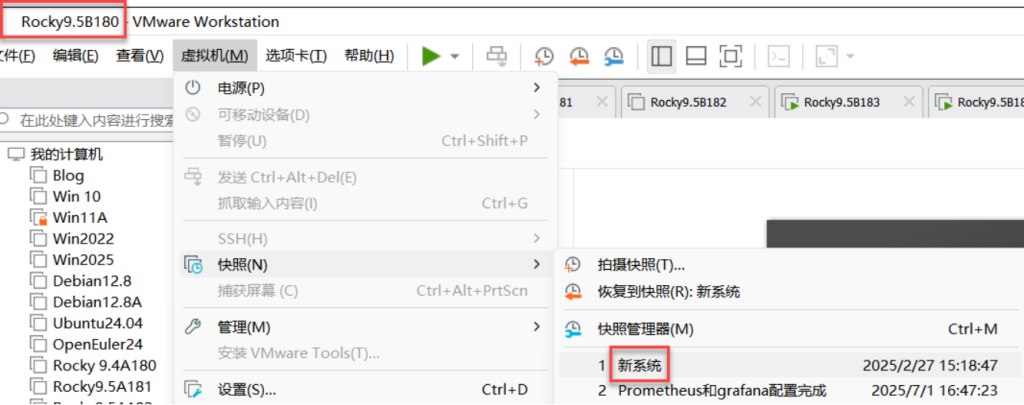
二、修改180、181机器的名称:db1\db2;做时间同步,都为阿里云时间

[root@Server10 ~]#
[root@Server10 ~]# hostnamectl set-hostname db1
[root@Server10 ~]# exit
注销

[root@Server11 ~]#
[root@Server11 ~]# hostnamectl set-hostname db2
[root@Server11 ~]# exit
注销
[root@db1 ~]# vim /etc/chrony.conf
#pool 2.rocky.pool.ntp.org iburst
pool ntp.aliyun.com iburst[root@db1 ~]# systemctl restart chronyd
[root@db1 ~]# chronyc sources -v
.-- Source mode '^' = server, '=' = peer, '#' = local clock.
/ .- Source state '*' = current best, '+' = combined, '-' = not combined,
| / 'x' = may be in error, '~' = too variable, '?' = unusable.
|| .- xxxx [ yyyy ] +/- zzzz
|| Reachability register (octal) -. | xxxx = adjusted offset,
|| Log2(Polling interval) --. | | yyyy = measured offset,
|| \ | | zzzz = estimated error.
|| | | \
MS Name/IP address Stratum Poll Reach LastRx Last sample
===============================================================================
^? 203.107.6.88 2 6 3 2 -7754us[-7754us] +/- 20ms[root@db2 ~]# vim /etc/chrony.conf
#pool 2.rocky.pool.ntp.org iburst
pool ntp.aliyun.com iburst[root@db2 ~]# systemctl restart chronyd
[root@db2 ~]# chronyc sources -v
.-- Source mode '^' = server, '=' = peer, '#' = local clock.
/ .- Source state '*' = current best, '+' = combined, '-' = not combined,
| / 'x' = may be in error, '~' = too variable, '?' = unusable.
|| .- xxxx [ yyyy ] +/- zzzz
|| Reachability register (octal) -. | xxxx = adjusted offset,
|| Log2(Polling interval) --. | | yyyy = measured offset,
|| \ | | zzzz = estimated error.
|| | | \
MS Name/IP address Stratum Poll Reach LastRx Last sample
===============================================================================
^? 203.107.6.88 2 6 3 2 -7754us[-7754us] +/- 20ms[root@db1 ~]# date
2025年 07月 02日 星期三 17:20:43 CST
[root@db1 ~]# clock -w
[root@db1 ~]#三、安装mariadb数据库
[root@db1 ~]# dnf -y install mariadb-server mariadb [root@db1 ~]# systemctl enable --now mariadb
Created symlink /etc/systemd/system/mysql.service → /usr/lib/systemd/system/mariadb.service.
Created symlink /etc/systemd/system/mysqld.service → /usr/lib/systemd/system/mariadb.service.
Created symlink /etc/systemd/system/multi-user.tar get.wants/mariadb.service → /usr/lib/systemd/syste m/mariadb.service.四、MySQL 数据库安全配置
[root@db1 ~]# mysql_secure_installation

NOTE: RUNNING ALL PARTS OF THIS SCRIPT IS RECOMMEN                            DED FOR ALL MariaDB
      SERVERS IN PRODUCTION USE!  PLEASE READ EACH                             STEP CAREFULLY!

In order to log into MariaDB to secure it, we'll n                            eed the current
password for the root user. If you've just install                            ed MariaDB, and
haven't set the root password yet, you should just                             press enter here.

Enter current password for root (enter for none):
OK, successfully used password, moving on...

Setting the root password or using the unix_socket                             ensures that nobody
can log into the MariaDB root user without the pro                            per authorisation.

You already have your root account protected, so y                            ou can safely answer 'n'.

Switch to unix_socket authentication [Y/n] n
 ... skipping.

You already have your root account protected, so you can safely answer 'n'.

Change the root password? [Y/n] y
New password: 123.com
Re-enter new password:
Password updated successfully!
Reloading privilege tables..
 ... Success!
By default, a MariaDB installation has an anonymous user, allowing anyone
to log into MariaDB without having to have a user account created for
them.  This is intended only for testing, and to make the installation
go a bit smoother.  You should remove them before moving into a
production environment.

Remove anonymous users? [Y/n] y
 ... Success!

Normally, root should only be allowed to connect from 'localhost'.  This
ensures that someone cannot guess at the root password from the network.

Disallow root login remotely? [Y/n] y
 ... Success!

By default, MariaDB comes with a database named 'test' that anyone can
access.  This is also intended only for testing, and should be removed
before moving into a production environment.

Remove test database and access to it? [Y/n] y
 - Dropping test database...
 ... Success!
 - Removing privileges on test database...
 ... Success!

Reloading the privilege tables will ensure that all changes made so far
will take effect immediately.

Reload privilege tables now? [Y/n] y
 ... Success!

Cleaning up...

All done!  If you've completed all of the above steps, your MariaDB
installation should now be secure.

Thanks for using MariaDB!
[root@db1 ~]#
五、编辑mariadb数据库服务器的主配置文件
[root@db1 ~]# vim /etc/my.cnf.d/mariadb-server.cnf		编辑mariadb数据库服务器的主配置文件
server-id=1
log-bin=mysql-bin
[root@db1 ~]# systemctl restart mariadb
六、进入数据库内
[root@db1 ~]# mysql
Welcome to the MariaDB monitor.  Commands end with ; or \g.
Your MariaDB connection id is 4
Server version: 10.5.27-MariaDB-log MariaDB Server

Copyright (c) 2000, 2018, Oracle, MariaDB Corporation Ab and others.

Type 'help;' or '\h' for help. Type '\c' to clear the current input statement.

MariaDB [(none)]> STOP SLAVE;
Query OK, 0 rows affected, 1 warning (0.000 sec)

MariaDB [(none)]> GRANT REPLICATION SLAVE ON *.* TO 'sk'@'%' IDENTIFIED BY 'redhat';
Query OK, 0 rows affected (0.001 sec)

MariaDB [(none)]> FLUSH PRIVILEGES;
Query OK, 0 rows affected (0.001 sec)

MariaDB [(none)]> SHOW MASTER STATUS;	【查看主数据库的状态】
+------------------+----------+--------------+------------------+
| File             | Position | Binlog_Do_DB | Binlog_Ignore_DB |
+------------------+----------+--------------+------------------+
| mysql-bin.000001 |      635 |              |                  |
+------------------+----------+--------------+------------------+
1 row in set (0.000 sec)

MariaDB [(none)]>
MariaDB [(none)]> unlock tables;   #这里db1是主数据库的配置文件,需要解锁表;db2是从数据库,不需要解锁
Query OK, 0 rows affected (0.000 sec)

MariaDB [(none)]> exit
Bye
[root@db1 ~]# init 0   (下课了,关机)
[root@db1 ~]#

[root@db2 ~]# init 0    (下课了,关机)
[root@db2 ~]#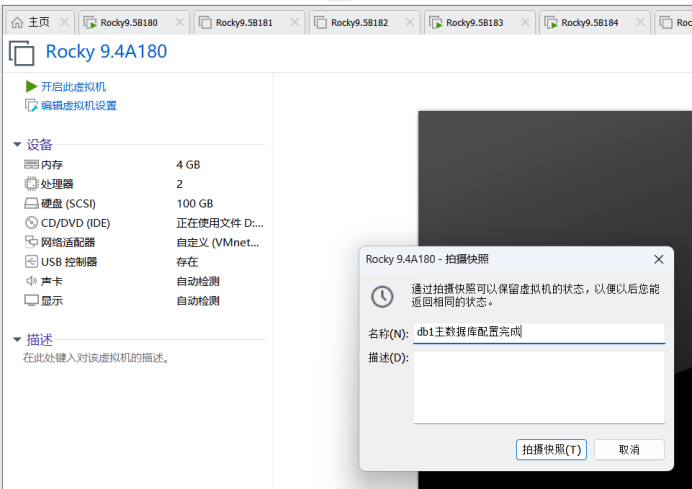
Db2从数据库未配置
七、实验环境:
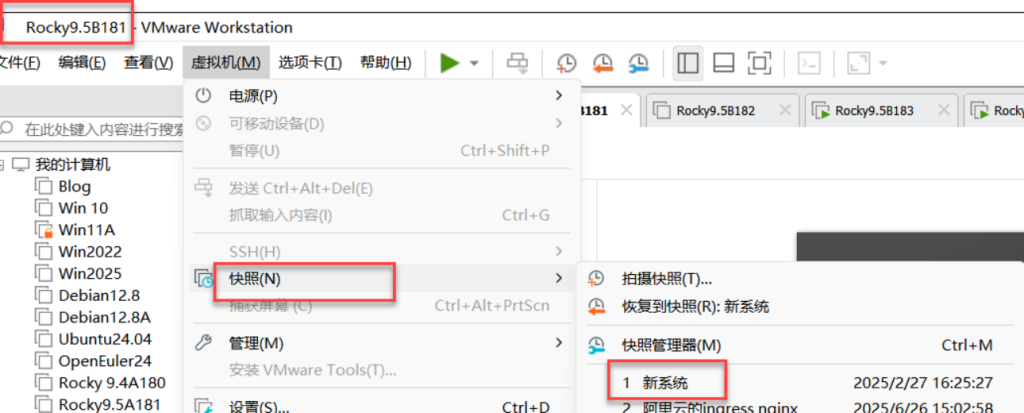
快照:db1主数据库配置完成;db2直接开机
八、db2编辑mariadb数据库服务器的主配置文件
[root@db2 ~]# vim /etc/my.cnf.d/mariadb-server.cnf 		编辑mariadb数据库服务器的主配置文件
server-id=2
log-bin=mysql-bin
[root@db2 ~]# systemctl restart mariadb九、进入数据库内
[root@db2 ~]# mysql
Welcome to the MariaDB monitor.  Commands end with ; or \g.
Your MariaDB connection id is 4
Server version: 10.5.27-MariaDB-log MariaDB Server

Copyright (c) 2000, 2018, Oracle, MariaDB Corporation Ab and others.

Type 'help;' or '\h' for help. Type '\c' to clear the current input statement.

MariaDB [(none)]> stop slave;
Query OK, 0 rows affected, 1 warning (0.000 sec)

MariaDB [(none)]> change master to
    -> master_host='192.168.7.10',
    -> master_user='sk',
    -> master_password='redhat',
    -> master_log_file='mysql-bin.000001',
    -> master_log_pos=635;
Query OK, 0 rows affected (0.005 sec)

MariaDB [(none)]> start slave;
Query OK, 0 rows affected (0.001 sec)
MariaDB [(none)]> show slave status\G;		【查看从数据库的状态】
*************************** 1. row ***************************
                Slave_IO_State: Waiting for master to send event
                   Master_Host: 192.168.7.10
                   Master_User: sk
                   Master_Port: 3306
                 Connect_Retry: 60
               Master_Log_File: mysql-bin.000002
           Read_Master_Log_Pos: 342
                Relay_Log_File: mariadb-relay-bin.000003
                 Relay_Log_Pos: 641
         Relay_Master_Log_File: mysql-bin.000002
              Slave_IO_Running: Yes	【主要查看】
             Slave_SQL_Running: Yes	【主要查看】
               Replicate_Do_DB:

MariaDB [(none)]> quit
Bye
十、db1\db2创建Prometheus系统组及用户
[root@db1 ~]# groupadd --system prometheus	【db1/2创建prometheus系统组】
[root@db1 ~]# useradd -s /sbin/nologin --system -g prometheus prometheus	【db1/2创建prometheus系统用户加入到prometheus组里,不允许本地登录】
[root@db1 ~]#
[root@db2 ~]# groupadd --system prometheus
[root@db2 ~]# useradd -s /sbin/nologin --system -g prometheus prometheus
[root@db2 ~]#
十一、db1、db2都上传及解压tar包解压数据库的插件
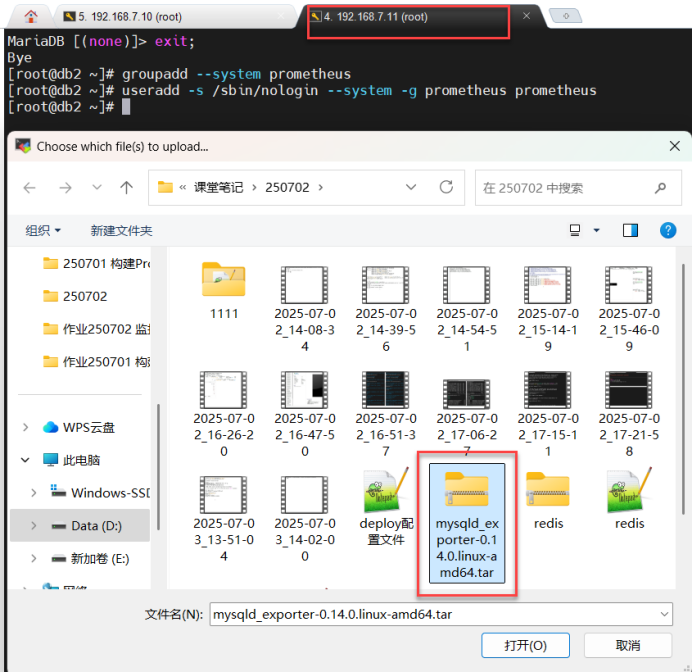
[root@db1 ~]# ls
anaconda-ks.cfg
mysqld_exporter-0.14.0.linux-amd64.tar.gz
[root@db1 ~]# tar zxf mysqld_exporter-0.14.0.linux-amd64.tar.gz		【db1/2都tar包解压数据库的插件】
[root@db1 ~]# mv mysqld_exporter-0.14.0.linux-amd64/mysqld_exporter /usr/local/bin/
十二、db1 \db2将数据库插件的命令添加执行权限
[root@db1 \db2~]# chmod +x /usr/local/bin/mysqld_exporter	【将数据库插件的命令添加执行权限】
[root@db1 \db2~]#
十三、db1登录数据库
[root@db1 ~]# mysql		【登录数据库】
Welcome to the MariaDB monitor.  Commands end with ; or \g.
Your MariaDB connection id is 5
Server version: 10.5.27-MariaDB-log MariaDB Server

Copyright (c) 2000, 2018, Oracle, MariaDB Corporation Ab and others.

Type 'help;' or '\h' for help. Type '\c' to clear the current input stateme                                        nt.


MariaDB [(none)]> CREATE USER 'mysqld_exporter'@'localhost' IDENTIFIED BY 'Admin@123' WITH MAX_USER_CONNECTIONS 2;         【创建mysqld_exporter用户,只允许本地登录,授权认证密码为:Admin@123,最大连接用户为2个】(为什么最大连接用户是2个:因为是主从复制,若想要一主二从就要为3个)
Query OK, 0 rows affected (0.002 sec)

MariaDB [(none)]>  GRANT PROCESS,REPLICATION CLIENT,SELECT ON *.* TO 'mysqld_exporter'@'localhost';  		【将数据库的所有内容、授权进程、复制客户端和查询,给mysqld_exporter用户,只允许本地登录】
Query OK, 0 rows affected (0.001 sec)

MariaDB [(none)]> FLUSH PRIVILEGES;	【刷新授权】
Query OK, 0 rows affected (0.001 sec)
Query OK, 0 rows affected (0.000 sec)

MariaDB [(none)]> quit
Bye
[root@db1 ~]#
十四、db1\db2数据库下创建隐藏的数据库插件的配置文件
[root@db1 \db2~]# vim /etc/.mysqld_exporter.cnf	【创建隐藏的数据库插件的配置文件】
[client]		【定义客户端】
user=mysqld_exporter		【用户为:mysqld_exporter】
password=Admin@123		【密码为:Admin@123】
[root@db1 \db2~]# chown root:prometheus /etc/.mysqld_exporter.cnf 【将隐藏数据库插接件的配置文件用户改为root,组改为prometheus】
[root@db1 \db2~]# vim /etc/systemd/system/mysqld_exporter.service 【创建数据库插件服务的文件】(主要用来启动插件)
[Unit]
Description=Prometheus MySQL Exporter
After=network.target
User=prometheus
Group=prometheus
[Service]
Type=simple
Restart=always
ExecStart=/usr/local/bin/mysqld_exporter \
--config.my-cnf /etc/.mysqld_exporter.cnf \
--collect.global_status \
--collect.info_schema.innodb_metrics \
--collect.auto_increment.columns \
--collect.info_schema.processlist \
--collect.binlog_size \
--collect.info_schema.tablestats \
--collect.global_variables \
--collect.info_schema.query_response_time \
--collect.info_schema.userstats \
--collect.info_schema.tables \
--collect.perf_schema.tablelocks \
--collect.perf_schema.file_events \
--collect.perf_schema.eventswaits \
--collect.perf_schema.indexiowaits \
--collect.perf_schema.tableiowaits \
--collect.slave_status \
--web.listen-address=0.0.0.0:9104
[Install]
WantedBy=multi-user.target
[root@db1 \db2~]#[root@db1 ~]# systemctl daemon-reload 【重新加载系统进程】
[root@db1 ~]# systemctl enable mysqld_exporter.service 【设置数据库插件开机启动】
Created symlink /etc/systemd/system/mul ti-user.target.wants/mysqld_exporter.service → /etc/systemd/system/mysqld_exporter.service.
[root@db1 ~]# systemctl start mysqld_exporter.service 【启动数据库插件】
[root@db1 ~]# systemctl status mysqld_exporter.service 【查看数据库插件的状态】
● mysqld_exporter.service - Prometheus>
Loaded: loaded (/etc/systemd/syst>
Active: active (running) since Th>
Main PID: 6051 (mysqld_exporter)
Tasks: 4 (limit: 22936)
Memory: 2.6M
CPU: 3ms
CGroup: /system.slice/mysqld_expo>
└─6051 /usr/local/bin/mys>
7月 03 15:11:35 db1 mysqld_exporter[60>
7月 03 15:11:35 db1 mysqld_exporter[60>
7月 03 15:11:35 db1 mysqld_exporter[60>
7月 03 15:11:35 db1 mysqld_exporter[60>
7月 03 15:11:35 db1 mysqld_exporter[60>
7月 03 15:11:35 db1 mysqld_exporter[60>
7月 03 15:11:35 db1 mysqld_exporter[60>
7月 03 15:11:35 db1 mysqld_exporter[60>
7月 03 15:11:35 db1 mysqld_exporter[60>
7月 03 15:11:35 db1 mysqld_exporter[60>
lines 1-20/20 (END)
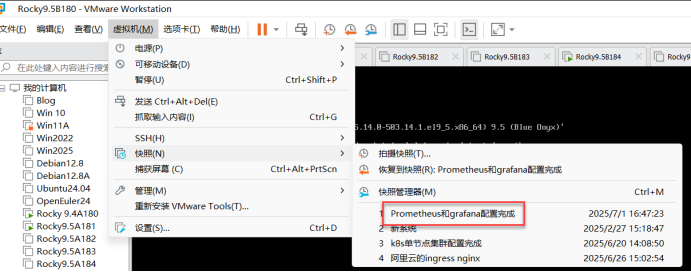
[root@db1 ~]#十五、开启Master1\node1\node2虚拟机,并还原至Prometheus和grafana配置完成
开启后第一步:三台机器做时间同步,都同步至aliyun时间:
十六、进入prometheus的目录下,编辑prometheus-cfg的原配置文件
[root@master1 ~]# ls
anaconda-ks.cfg  kubeadm.yaml                            node-export.yaml
calico.tar.gz    kube-state-metrics-rbac.yaml            prometheus-cfg.yaml	看这个
calico.yaml      node_exporter-1.5.0.linux-amd64.tar.gz  prometheus-deploy.yaml
grafana.yaml     node-exporter.tar.gz                    prometheus-k8s
[root@master1 ~]# cd prometheus-k8s/		【进入prometheus的目录】
[root@master1 prometheus-k8s]# ls
grafana.yaml                    kube-state-metrics-rbac.yaml  node-export.yaml     prometheus-deploy.yaml
kube-state-metrics-deploy.yaml  kube-state-metrics-svc.yaml   prometheus-cfg.yaml  prometheus-svc.yaml
[root@master1 prometheus-k8s]# vim prometheus-cfg.yaml	【编辑prometheus-cfg的原配置文件】
---
kind: ConfigMap
apiVersion: v1
metadata:
  labels:
    app: prometheus
  name: prometheus-config
  namespace: monitor-sa
data:
  prometheus.yml: |
    global:
      scrape_interval: 15s
      scrape_timeout: 10s
      evaluation_interval: 1m
    scrape_configs:
    - job_name: 'kubernetes-node'
      kubernetes_sd_configs:
      - role: node
      relabel_configs:
      - source_labels: [__address__]
        regex: '(.*):10250'
        replacement: '${1}:9100'
        target_label: __address__
        action: replace
      - action: labelmap
        regex: __meta_kubernetes_node_label_(.+)
    - job_name: 'kubernetes-node-cadvisor'
      kubernetes_sd_configs:
      - role:  node
      scheme: https
      tls_config:
        ca_file: /var/run/secrets/kubernetes.io/serviceaccount/ca.crt
      bearer_token_file: /var/run/secrets/kubernetes.io/serviceaccount/token
      relabel_configs:
      - action: labelmap
        regex: __meta_kubernetes_node_label_(.+)
      - target_label: __address__
        replacement: kubernetes.default.svc:443
      - source_labels: [__meta_kubernetes_node_name]
        regex: (.+)
        target_label: __metrics_path__
        replacement: /api/v1/nodes/${1}/proxy/metrics/cadvisor
    - job_name: 'kubernetes-apiserver'
      kubernetes_sd_configs:
      - role: endpoints
      scheme: https
      tls_config:
        ca_file: /var/run/secrets/kubernetes.io/serviceaccount/ca.crt
      bearer_token_file: /var/run/secrets/kubernetes.io/serviceaccount/token
      relabel_configs:
      - source_labels: [__meta_kubernetes_namespace, __meta_kubernetes_service_name, __meta_kubernetes_endpoint_port_name]
        action: keep
        regex: default;kubernetes;https
    - job_name: 'kubernetes-service-endpoints'
      kubernetes_sd_configs:
      - role: endpoints
      relabel_configs:
      - source_labels: [__meta_kubernetes_service_annotation_prometheus_io_scrape]
        action: keep
        regex: true
      - source_labels: [__meta_kubernetes_service_annotation_prometheus_io_scheme]
        action: replace
        target_label: __scheme__
        regex: (https?)
      - source_labels: [__meta_kubernetes_service_annotation_prometheus_io_path]
        action: replace
        target_label: __metrics_path__
        regex: (.+)
      - source_labels: [__address__, __meta_kubernetes_service_annotation_prometheus_io_port]
        action: replace
        target_label: __address__
        regex: ([^:]+)(?::\d+)?;(\d+)
        replacement: $1:$2
      - action: labelmap
        regex: __meta_kubernetes_service_label_(.+)
      - source_labels: [__meta_kubernetes_namespace]
        action: replace
        target_label: kubernetes_namespace
      - source_labels: [__meta_kubernetes_service_name]
        action: replace
        target_label: kubernetes_name
    - job_name: 'kubernetes-pods'
      kubernetes_sd_configs:
      - role: pod
      relabel_configs:
      - action: keep
        regex: true
        source_labels:
        - __meta_kubernetes_pod_annotation_prometheus_io_scrape
      - action: replace
        regex: (.+)
        source_labels:
        - __meta_kubernetes_pod_annotation_prometheus_io_path
        target_label: __metrics_path__
      - action: replace
        regex: ([^:]+)(?::\d+)?;(\d+)
        replacement: $1:$2
        source_labels:
        - __address__
        - __meta_kubernetes_pod_annotation_prometheus_io_port
        target_label: __address__
      - action: labelmap
        regex: __meta_kubernetes_pod_label_(.+)
      - action: replace
        source_labels:
        - __meta_kubernetes_namespace
        target_label: kubernetes_namespace
      - action: replace
        source_labels:
        - __meta_kubernetes_pod_name
        target_label: kubernetes_pod_name
    - job_name: 'db1'		【定义工作任务:db1】
      static_configs:		【静态配置】
        - targets: ['192.168.7.10:9104']	【目标为:192.168.7.10端口号为:9104(数据库插件的端口号)】
    - job_name: 'db2'		【定义工作任务:db2】
      static_configs:
        - targets: ['192.168.7.11:9104']	【目标为:192.168.7.11端口号为:9104(数据库插件的端口号)】
[root@master1 prometheus-k8s]#
[root@master1 prometheus-k8s]# kubectl apply -f prometheus-cfg.yaml 【应用prometheus-cfg的原配置文件】
configmap/prometheus-config configured
[root@master1 prometheus-k8s]# kubectl delete -f prometheus-deploy.yaml 【删除无状态应用配置文件】
deployment.apps "prometheus-server" deleted
[root@master1 prometheus-k8s]# kubectl apply -f prometheus-deploy.yaml 【应用无状态应用配置文件】
(为什么要删除再应用:因为更改了原配置文件所有要删除应用再重新应用)
deployment.apps/prometheus-server created
[root@master1 prometheus-k8s]#
[root@master1 prometheus-k8s]# kubectl get svc -n kube-system | grep grafana【查看grafana的服务】
monitoring-grafana NodePort 10.111.7.156 <none> 80:32668/TCP 47h【主要查看端口号】
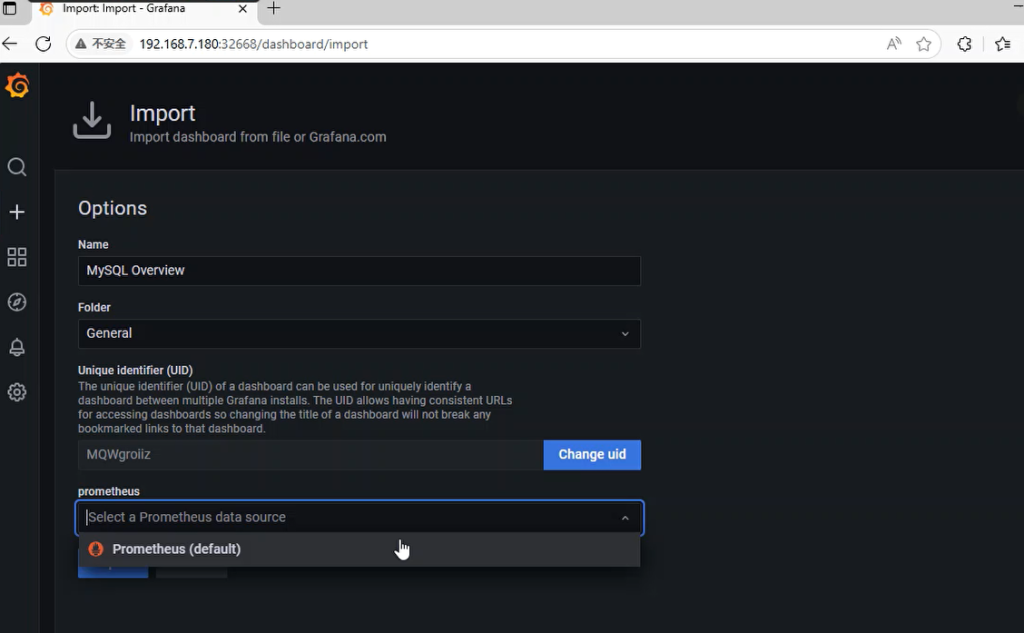
[root@master1 prometheus-k8s]# 十七、网页上登录:192.168.7.180:32668,上传json文件
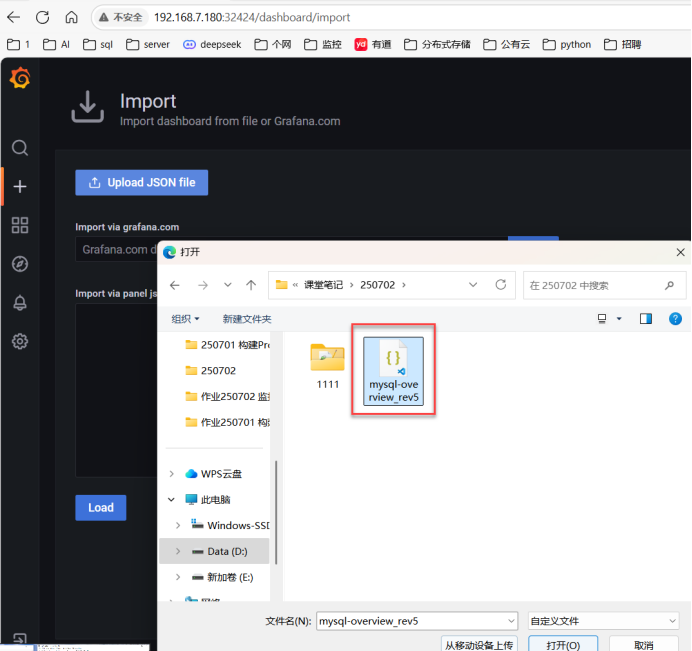
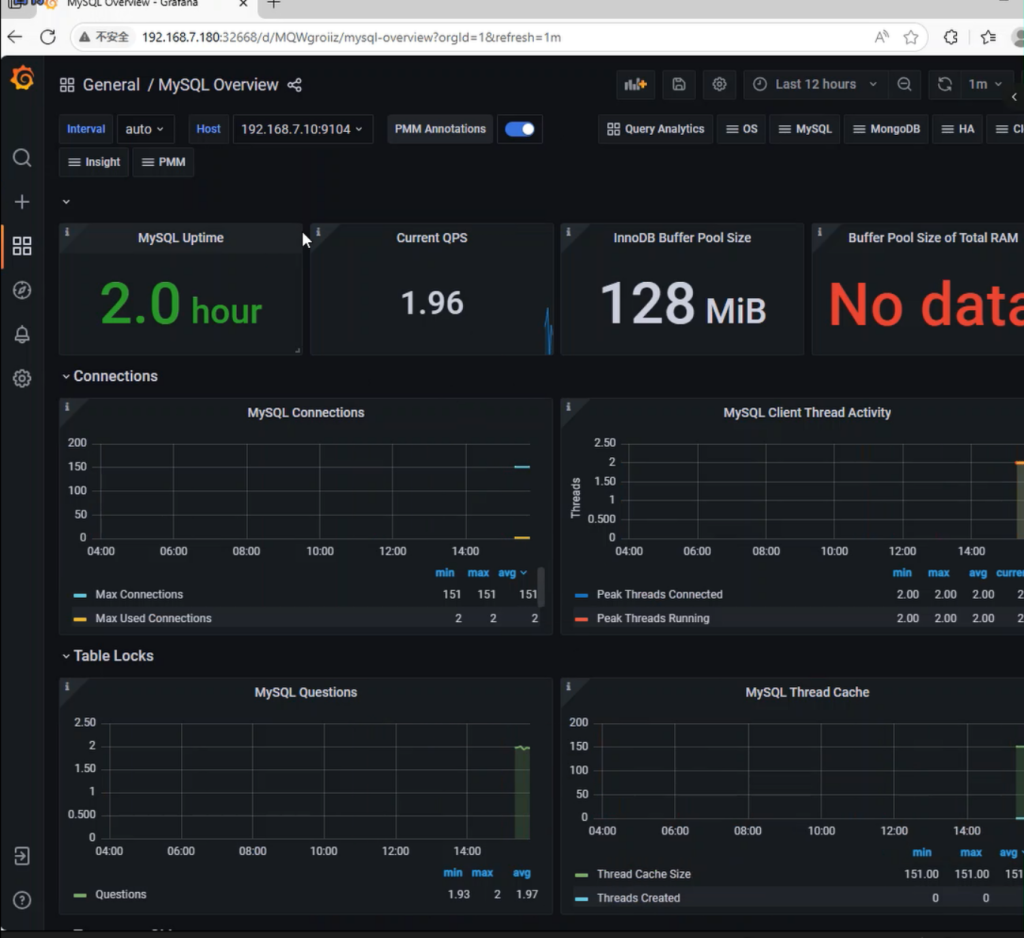
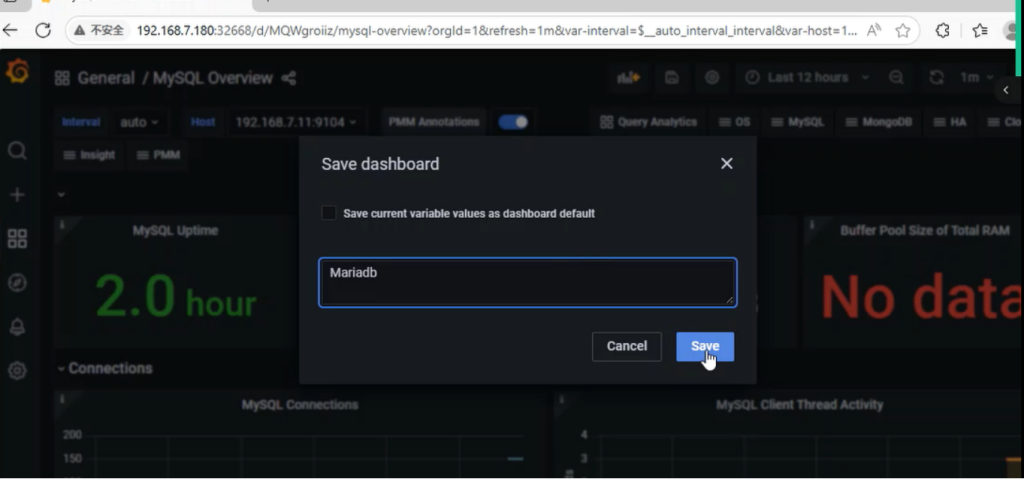
十八、测试搭建的Prometheus监控数据库是否成功: